This page describes how to choose data formats and ports for your goal, and typical use cases. For the inputs and outputs of each node, see the Blueprint API Reference.
Selection table by goal
| Goal | Features to use |
|---|---|
| Exchange strings with an Arduino or microcontroller | Data Format = UTF8String + Send String UTF8 |
| Handle binary data | Data Format = RawBytes + Send Data |
| Display received bytes on screen or in logs | Data Format = HexString + Data Received Hex |
| The port name changes between environments | Get Available Serial Ports or automatic port identification |
| You don’t know which port the target device uses | Find First Communicable Serial Port |
| Communicate with multiple devices at the same time | Create one Serial Port Manager per port |
| Control peer startup or resets | Set DTR / Set RTS |
| Use ObjectDeliverer’s packet rules and DeliveryBox | UniversalSerialOD (currently unavailable) |
The lifecycle is the same in every use case. Create a Serial Port Manager and keep it in a variable, pass the settings with Initialize, start with Open, receive results through the events, and call Close when finished.
Switch the data format
Select the receive data format with Data Format on Initialize (or Set Data Format). Only the receive event matching the selected format is notified.
| Data Format | Received data | Notified event | Use case |
|---|---|---|---|
RawBytes | Byte array | Data Received | The peer device sends binary data |
UTF8String | UTF-8 string | Data Received String | The peer device sends strings |
HexString | Hex string | Data Received Hex | You want to display received data on screen or in logs |
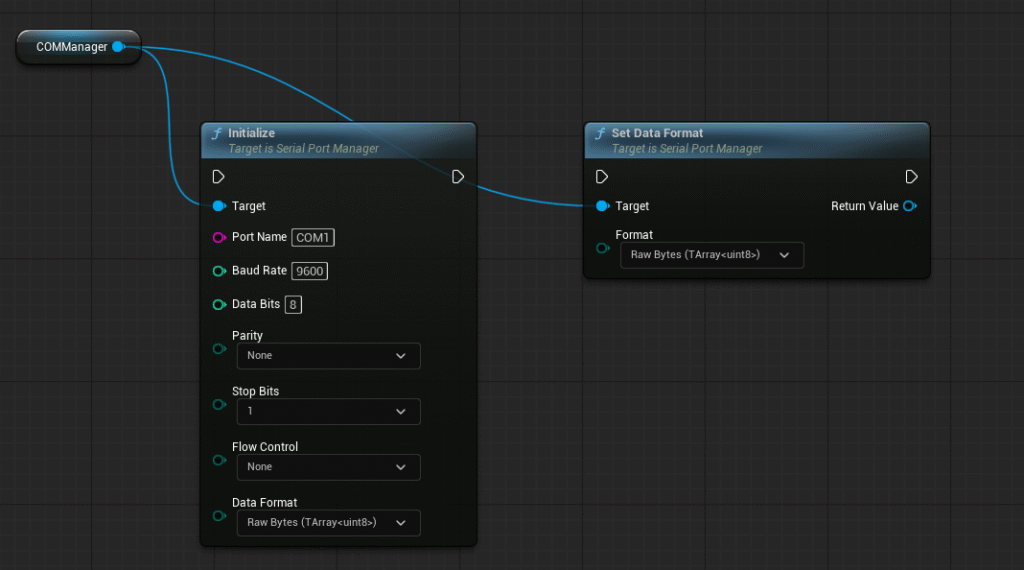
If the peer device sends binary data (data that is meaningless to the human eye), select RawBytes and use Data Received. If you want the received bytes as a string, select HexString and use Data Received Hex, which gives you the received data as a hexadecimal string.
String delimiters
With UTF8String, the plugin splits data by the delimiter (default \r\n) and restores strings. If one read contains multiple delimiters, Data Received String fires for each split string. Data that has not reached a delimiter is buffered internally and joined with the next read. Multi-byte characters split across read boundaries are also joined correctly before notification.
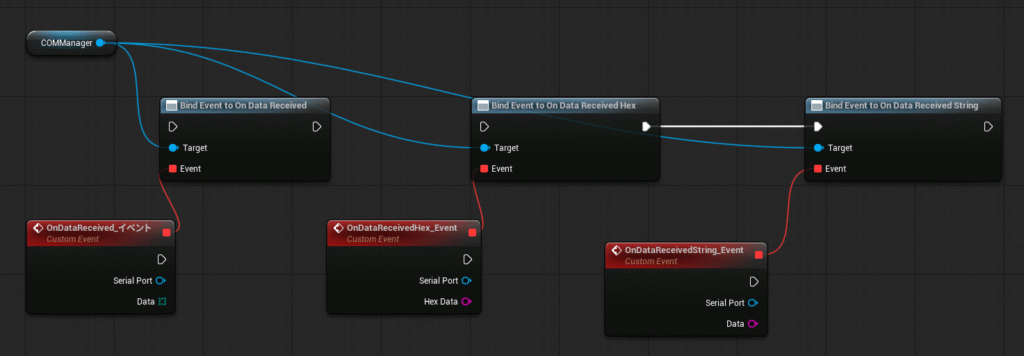
Use Set String Delimiter to change the delimiter. Set it according to the peer device’s specification.
Choose a send method
There are three send nodes.
| Node | Data sent | Description |
|---|---|---|
Send Data | Byte array | Sends the specified byte array as-is |
Send String UTF8 | UTF-8 string | Sends the string as UTF-8. With Add Delimiter true, the delimiter is appended to the end |
Send String Hex | Hex string | Converts a hexadecimal string such as AA BB CC 01 02 03 to a byte array and sends it. Spaces between bytes are optional |
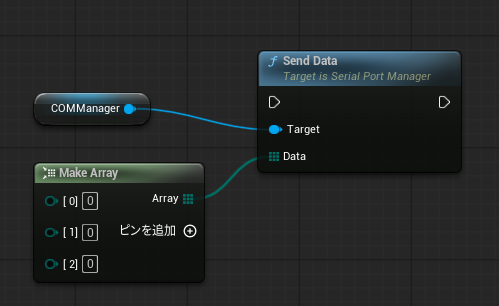
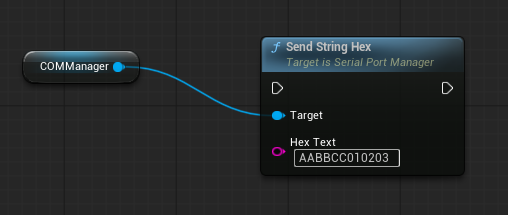
With Send String UTF8, setting Add Delimiter to true automatically appends the delimiter (default \r\n) to the end of the sent string. Keep it true for line-oriented protocols where the peer waits for a newline.
Automatically identify a communicable port
When several serial devices are connected to the PC, it can be unclear which port the target device uses. From v1.3.0, Find First Communicable Serial Port tries candidate ports in order and returns the name of the first communicable port.
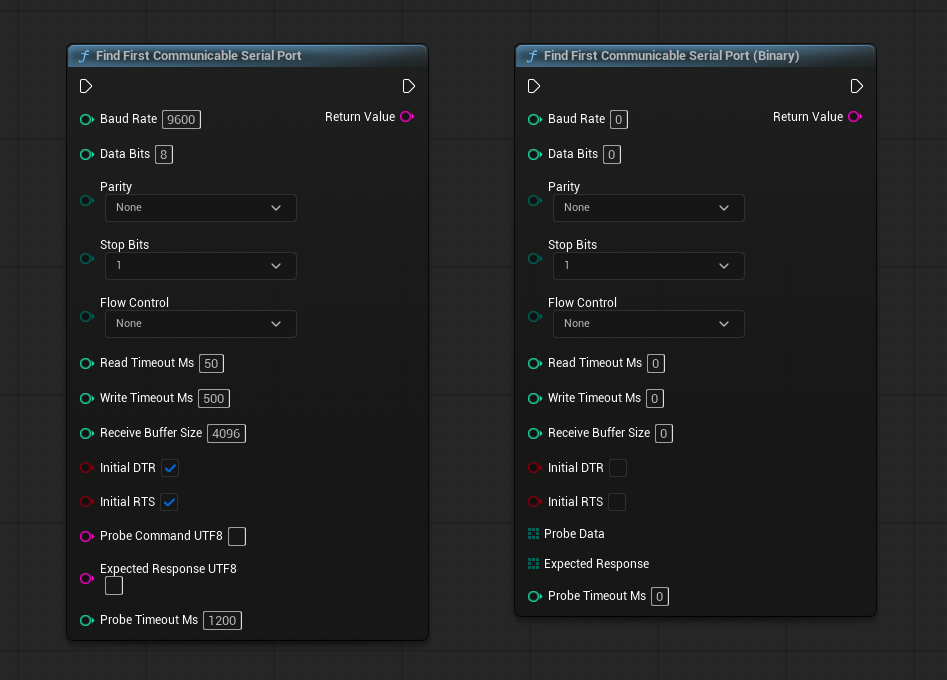
There are two probe methods.
| Node | Probe method |
|---|---|
Find First Communicable Serial Port | Sends the string specified by Probe Command UTF8 and checks that the response contains Expected Response UTF8 |
Find First Communicable Serial Port (Binary) | Sends the bytes of Probe Data and checks that the response contains the bytes of Expected Response |
If both Probe Command UTF8 and Expected Response UTF8 are empty, the node simply returns the first port that can be opened.
For example, if the peer device answers PONG to PING, set PING for Probe Command UTF8 and PONG for Expected Response UTF8. The name of the port that returned the expected response is returned, so pass it to Port Name of Initialize.
Note
Candidate ports that look like USB serial devices, such as COM, usbmodem, usbserial, ttyACM, ttyUSB, and cu.usb, are tried first. Ports that fail to communicate are closed automatically.
List available ports
Get Available Serial Ports returns the list of currently available serial port names (BlueprintPure). The returned names can be passed directly to Port Name of Initialize.
Port name formats differ by platform.
| Platform | Example port names |
|---|---|
| Windows | COM3, COM5 |
| Mac | cu.usbmodemXXXX, cu.usbserial-XXXX |
| Linux | ttyUSB0, ttyACM0, by-id path names |
On Mac and Linux, you can specify a device name without the /dev/ prefix; it is completed automatically. For details, see Port names per platform in Data Formats and Production.
Use multiple ports at the same time
One Serial Port Manager handles one port. To communicate with multiple devices at the same time, create one Serial Port Manager per port, store each in a variable, and run Initialize and Open for each.
Events fire independently for each manager. The Serial Port argument of the Connected and Data Received events tells you which manager notified.
Control DTR/RTS
DTR (Data Terminal Ready) and RTS (Request To Send) are control lines of a serial port. Some Arduino boards reset when DTR toggles, so the control line states can affect device behavior.
Initial DTR and Initial RTS of Initialize specify the states right after the port opens. Both default to true. To toggle them during communication, use Set DTR and Set RTS. They return false when the port is not connected.
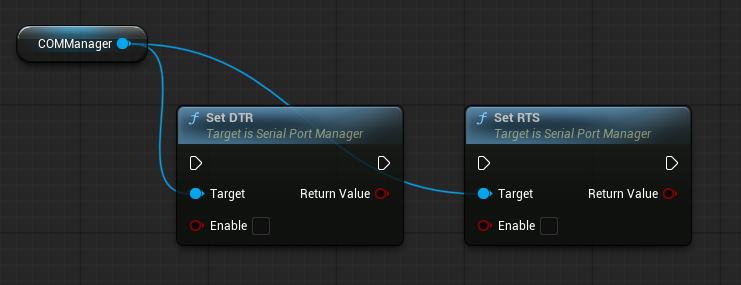
When Hardware (RTS/CTS) is selected for flow control, RTS/CTS are used for flow control.
Integrate with ObjectDeliverer
UniversalSerial can be used as a protocol of ObjectDeliverer, another plugin published by AyumaxSoft. The dedicated plugin UniversalSerialOD enables this integration, letting you use ObjectDeliverer’s packet division rules and DeliveryBox mechanism over serial communication.
Warning
Issues have been found with UniversalSerialOD, and its distribution has been temporarily suspended. We plan to resume distribution once the fixes are complete.
UniversalSerialOD is available for free. Because plugins that integrate with other plugins violate Fab’s terms, it is distributed only on our download page.
To use the integration, install the following three plugins:
- ObjectDeliverer
- UniversalSerial
- UniversalSerialOD
The integration provides the following benefits to your project:
- You can use ObjectDeliverer’s packet division rules and DeliveryBox mechanism for serial communication.
- When building communication features with a device, you can create a mock using TCP/IP or another protocol while you don’t have the device, and switch the communication method to proceed with development.
To use it, simply insert Create Protocol Serial Port into the Start method of ObjectDelivererManager. After that, you can send and receive serial data using ObjectDeliverer’s features.
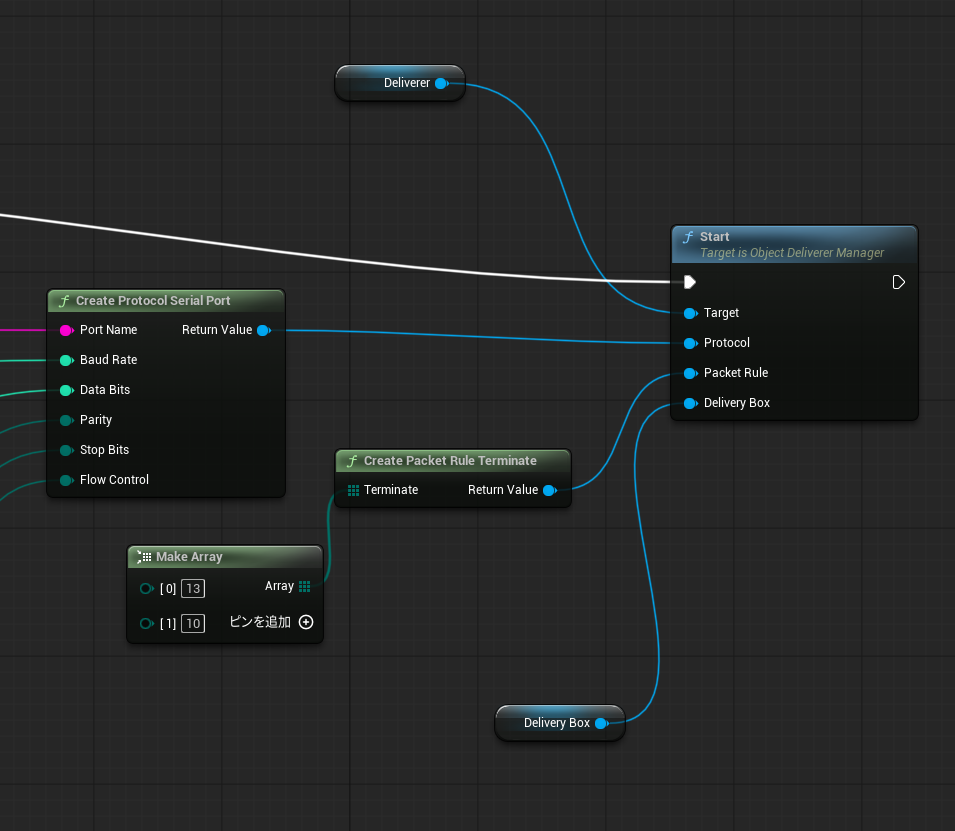
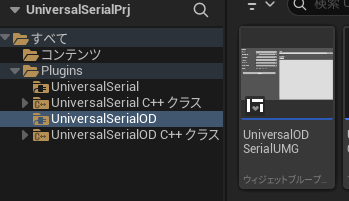
For an implementation example, see the UniversalODSerialUMG asset in the Content folder of the UniversalSerialOD plugin.